Fundraising is a big part of team sports. I know in softball fundraising really helps offset players dues and gives the player an opportunity to work to help raise the money. There are many fundraising opportunities where additional money can be raised with softball tip jars.
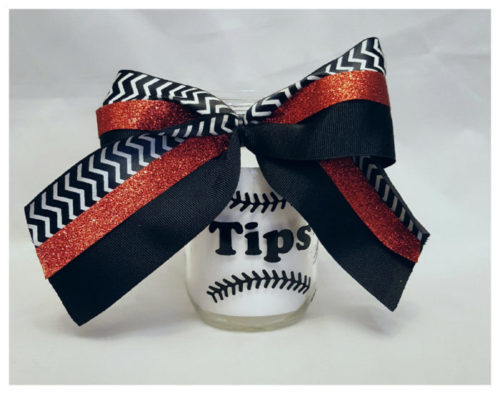
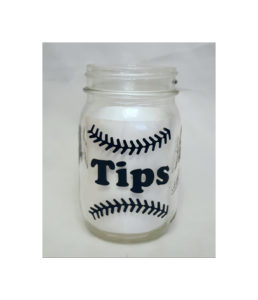
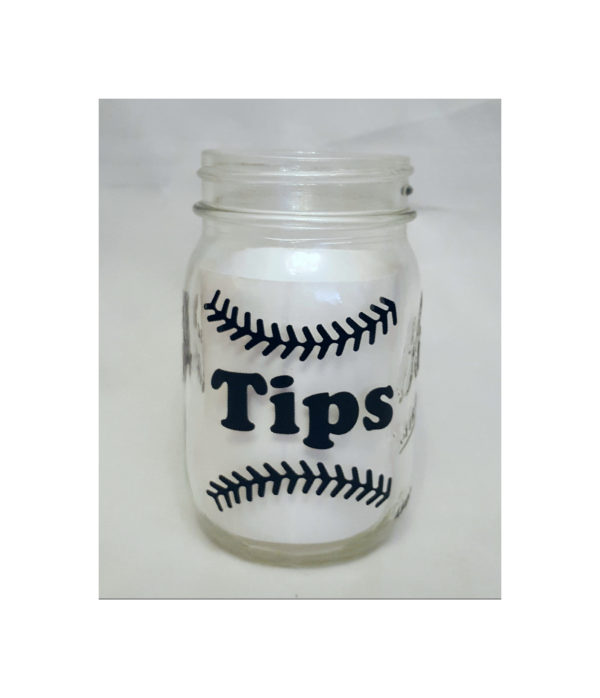
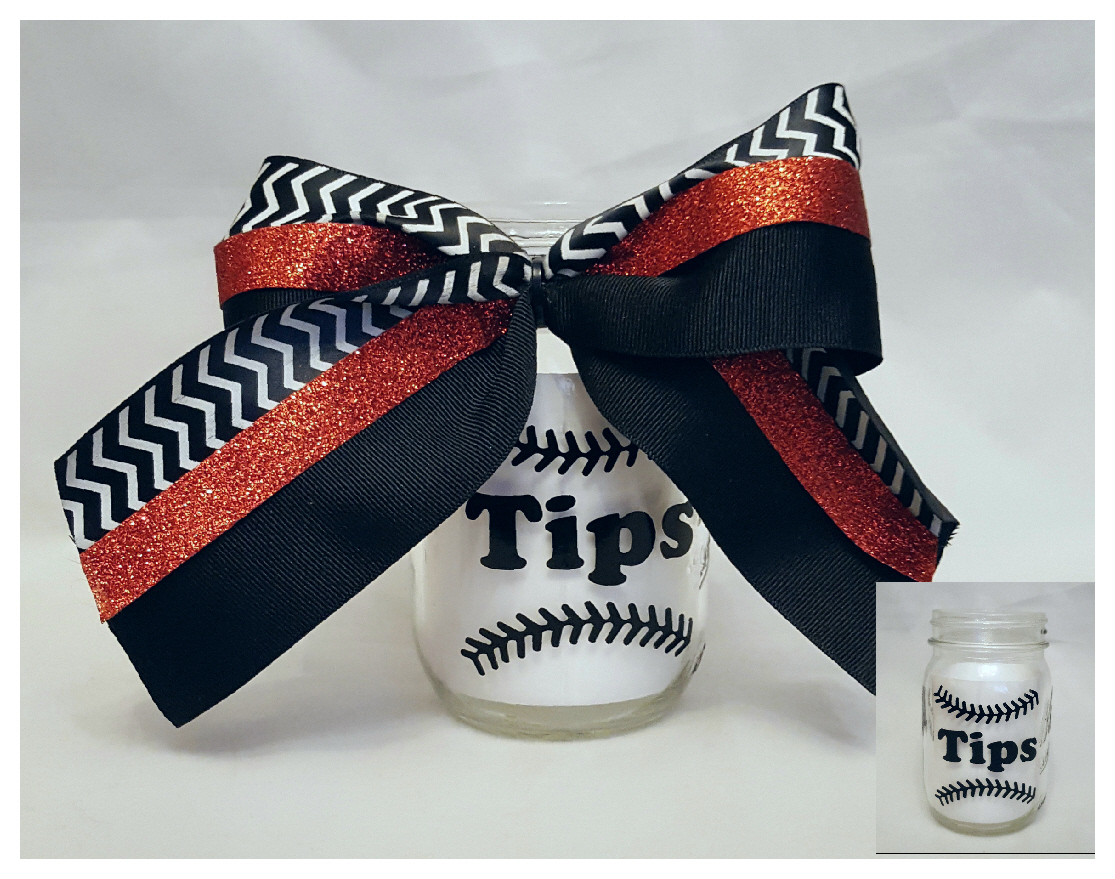 I made these softball tip jars for a fundraising event we did at Applebees. I made the softball tip jars to place on the tables so patrons can leave additional tips. Each time we have made softball tip jars for fundraising the tips have brought in a substantial amount of the overall money raised and really helps to makes the fundraiser a success.
As part of these softball tip jars, I decorated the jars with hair bows I made for the girls to take away from the event. I am a big supporter of fundraiser participation incentives. As much as softball players love bows, they all really wanted to take a jar with them…just a heads up. The softball tip jars can be used over and over and what softball player doesn’t like a hairbow in her team colors.
Were to Find Softball Tips Decal
I offer this decal for sale through my Etsy Shop. If you order through my Etsy Shop, I have a wide range of fonts and color options to select from. I also offer additional softball decals to add to this project or another.
Materials for Softball Tip Jar
• Mason Jars (enough for each of the girls participating in the fundraising event)
• Vinyl: Tips Softball Decal
• Hairbows with rubber band or Ribbon
Applying Decal to Tip Jar
- Clean surface thoroughly and allow to dry. Rubbing alcohol is good to use to clean the surface as long as it will not damage the area the vinyl is being applied to. If you will be applying to car window, use glass cleaner to clean the area prior to apply the decal.
- Remove the backing from the decal by laying it right side up and rubbing on the transfer over the decal area to ensure the vinyl has adhered to the transfer. Then turn the decal face down and curl the backing from the decal slowly ensuring all parts of the decal are lifting from the backing and remain on the transfer.
- Position the decal in the desired location. Do not make contact with the surface until you are ready to apply the decal. Once it comes in contact with the surface it will be stuck. When applying to something like a cup or jar, use a dish towel to make nest and place the jar or cup into the center. This will keep the item from rolling around while applying the decal.
- Apply pressure to the center of the decal, working from the center out. For best results, use a scraper or credit card while applying pressure, work your way outward.
- Carefully peel off transfer by starting at one of the corners and pulling the transfer in the opposite direction, folding the transfer away from the decal while pulling. Work slowly, if there is a piece of the decal that wants to stick to the transfer, lay the transfer back down, rub the area well to make it adhere to your surface and begin peeling again. Make sure the decal sticks to the surface before continuing to remove the transfer to avoid distortion or damage to the decal.
- Do not wash the surface for 24 to 48 hours to allow time for the vinyl to bond to the surface.
