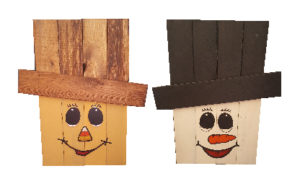
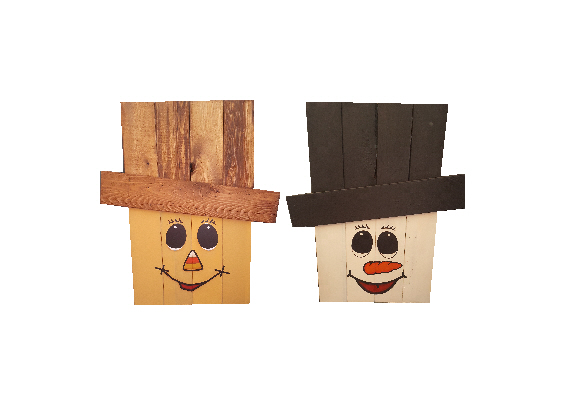
When I was creating my scrap wood scarecrow snowman, I knew it would be easy to assemble and paint. I was a little intimidated about painting the faces on them. I decided to add the vinyl faces for craft projects to the scrapwood scarecrow snowman with vinyl. I have a variety of snowman and scarecrow faces in my Etsy shop. You can order the vinyl faces for craft projects from allimake.etsy.com. Use them for scrap wood scarecrow and snowman and much more.
 After assembling and painting the scrap wood scarecrow and snowman, let it dry completely. When I painted mine, I did more of a “wash” paint job as I still wanted to see the grain from the wood though the paint. It is a scrap wood project after all. If you will be painting yours (more than just a wash), I would recommend letting is sit for several days. If you have time at least a week, before applying the vinyl. If you don’t have time to let it sit for the week, proceed with caution. Applying vinyl on a newly painted surface can damage the paint and pull up pieces of paint. Also as the paint gasses it can cause bubbles in the vinyl. For best results it is best to let paint sit for about a week before applying vinyl.
Painting After Vinyl Applied
After applying the vinyl to the scrap wood snowman scarecrow, I painted the inside of the carrot nose and the mouths. Just like you would if you were coloring a page in a coloring book. With all of the pressure taken off me to not mess the project up painting the face, I really enjoyed the project and the faces turned out cute and perfect.
I have since added full colored vinyl faces so the nose, eyes and mouth have colored vinyl. These make applying to your project super easy. The full colored vinyl will come fully assembled so you just have to transfer it to the surface.
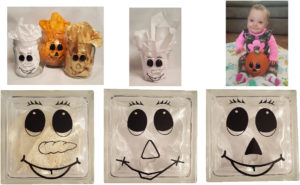
I have used the same vinyl faces for craft projects for several other projects including glass blocks, pumpkins and jars that I filled with goodies to give to friends and family.


